Rusty Monkey Vintage Marketplace and Workshop.
The primary location used to be a muffler and automotive repair shop. Fortunately, it doesn't have ANY smells of its previous tenants...oily or petroleum stink. If you've ever been in an unkempt automotive shop, you know exactly the smell I'm talking about.
So, the re-do has been fairly easy to accomplish. Ginger and I have spent her last two days off (not connected days) busy at work.


Enter the huge, old dictionary I had found a couple years ago for $2.00. Remove the duct tape that was holding the binding together. Unscrew the big ol' barrel bolts. Cut off the 3-hole margins. Ready to apply to the wall using good ol' liquid starch.


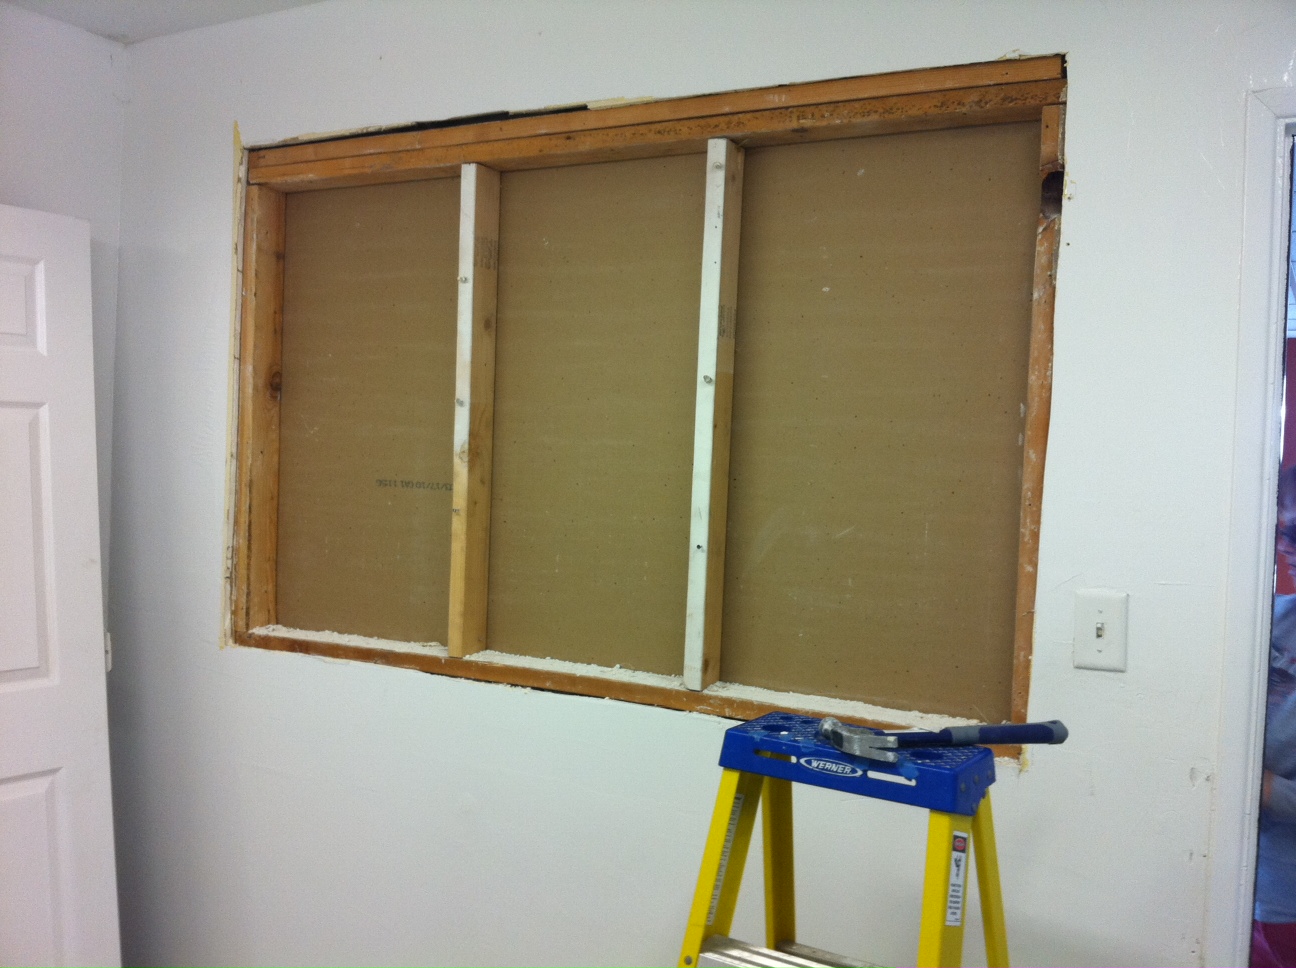
However, the three window walls have windows that are not at the same lower plane. So, we decided to raise all the moulding and will add more Natural Linen paint to the bottom-most part of the chair rail.


A couple weekends ago, Janice and I went to the Jacksonville city-wide yard sale...OH, WHAT FUN THAT WAS...(another post!). I found a vintage canvas tape measure for $1.00. Yep, $1.00!!! Funny thing is it's METRIC! The foot marks are spot-on, but it doesn't have 12 marks in between - only 10. Well, I had the bright idea of using it to embellish the moulding. So with a bit of double stick tape and a few little black brad nails my idea came to fruition. Fun. Easy. Cool!


The rusty orange wall will also get a mocha glaze and this queen-size box spring frame will go up. Our sign, a rusty piece of corrugated metal (the match to my Home Is...sign) will be layered on top of it. Stay tuned....

We've still got a ways to go, but I'm gonna take my recent fortune to heart!


.JPG)


No comments:
Post a Comment